On OKAST, you can offer your users the chance to view trailers. These allow you to convert users who might be interested in your content by giving them a taste of your platform.
1- How to create a “trailer” content?
A trailer is content like any other. To create a trailer, go to your organisation's CONTENT MANAGEMENT > Catalogue menu, and click on the Create button
Then upload the trailer and fill in all the relevant information and metadata as for Hosted Content.
We recommend that you use a specific visual and indicate in its internal title and its "official" title that it is a trailer, so that :
- notify your users when they use the search bar, for example
- easily find your trailers in the editor
Please note: for content to be associated as a trailer, it must be categorised as free content.

So you've created your trailer content.
This content can stand alone with its own URL and therefore its own content page. By default, this page displays the trailer image. If you wish to automatically play the trailer when this page opens, go to PLATFORM > Layout > Content Page > Trailer.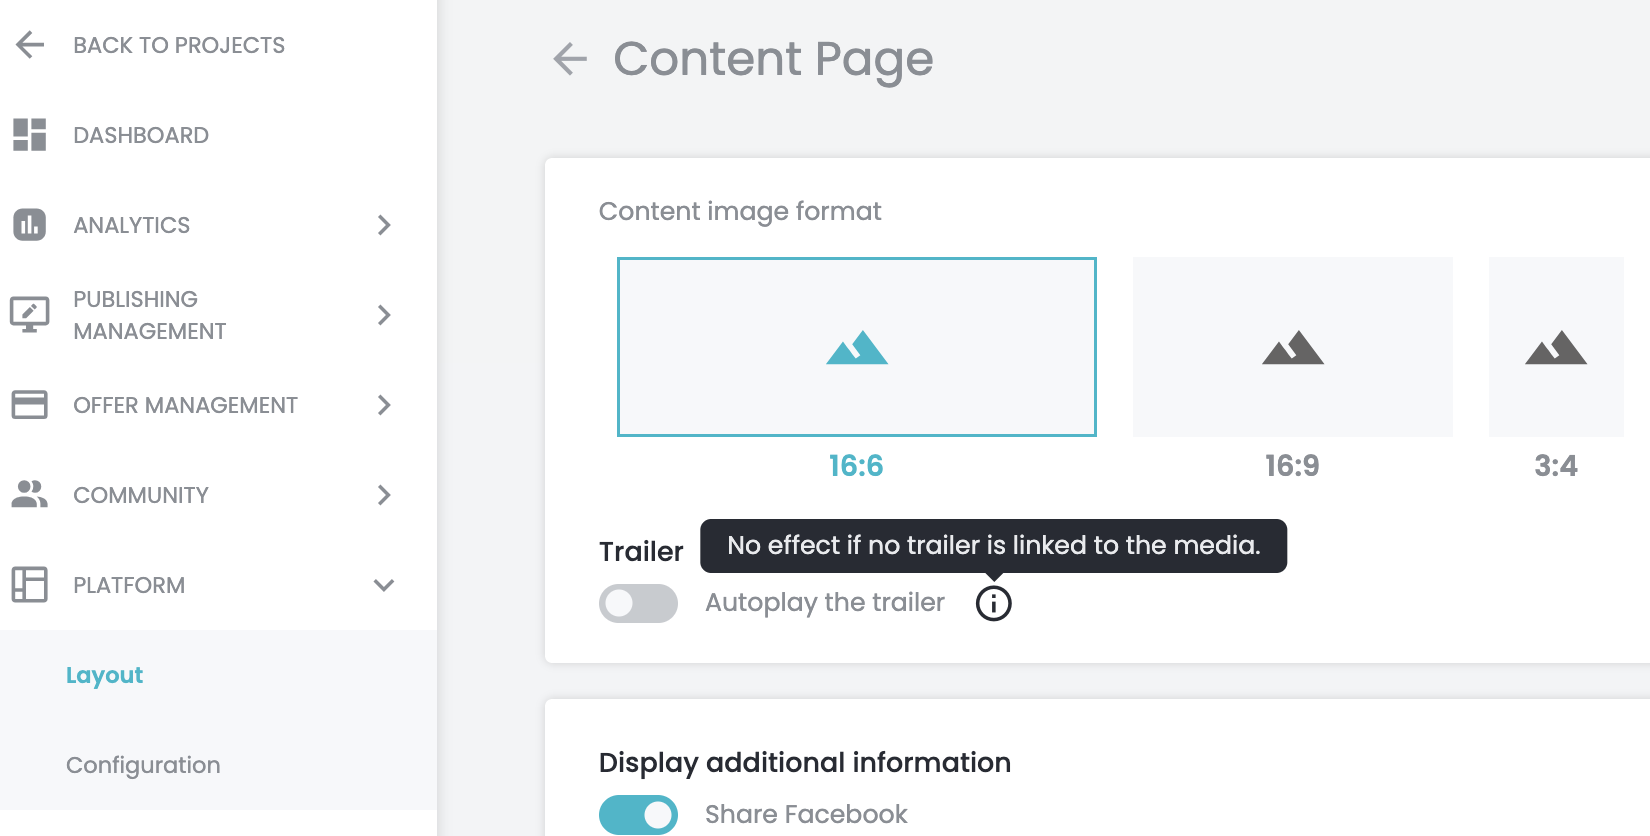
You can also link your trailer to a piece of content. Go to the Metadata > Trailer tab to select your trailer.

You can also add a trailer to linked content. It will appear as a thumbnail on your site with the associated content. You can find all the documentation on linked content here > Creating and managing linked content.

2 - How do I link a trailer to existing content?
Once you have created your trailers, go to the content file for the content(s) to which you want to link a trailer.
In the Metadata tab, select the Trailer field, which lets you link a content item to its trailer. Select the trailer from the drop-down menu:

And there you have it!
A trailer is now available and can be accessed from your platform's content page:

Tips: you can create trailer smartlists to generate engagement and get your customers to view more content:
