Your hosted content (vertical or horizontal) so live streams are not concerned here, will not be monetizable until they are encoded and stored, but your encoding choices also determine how you are billed; It is then essential to understand the process of uploading and encoding!
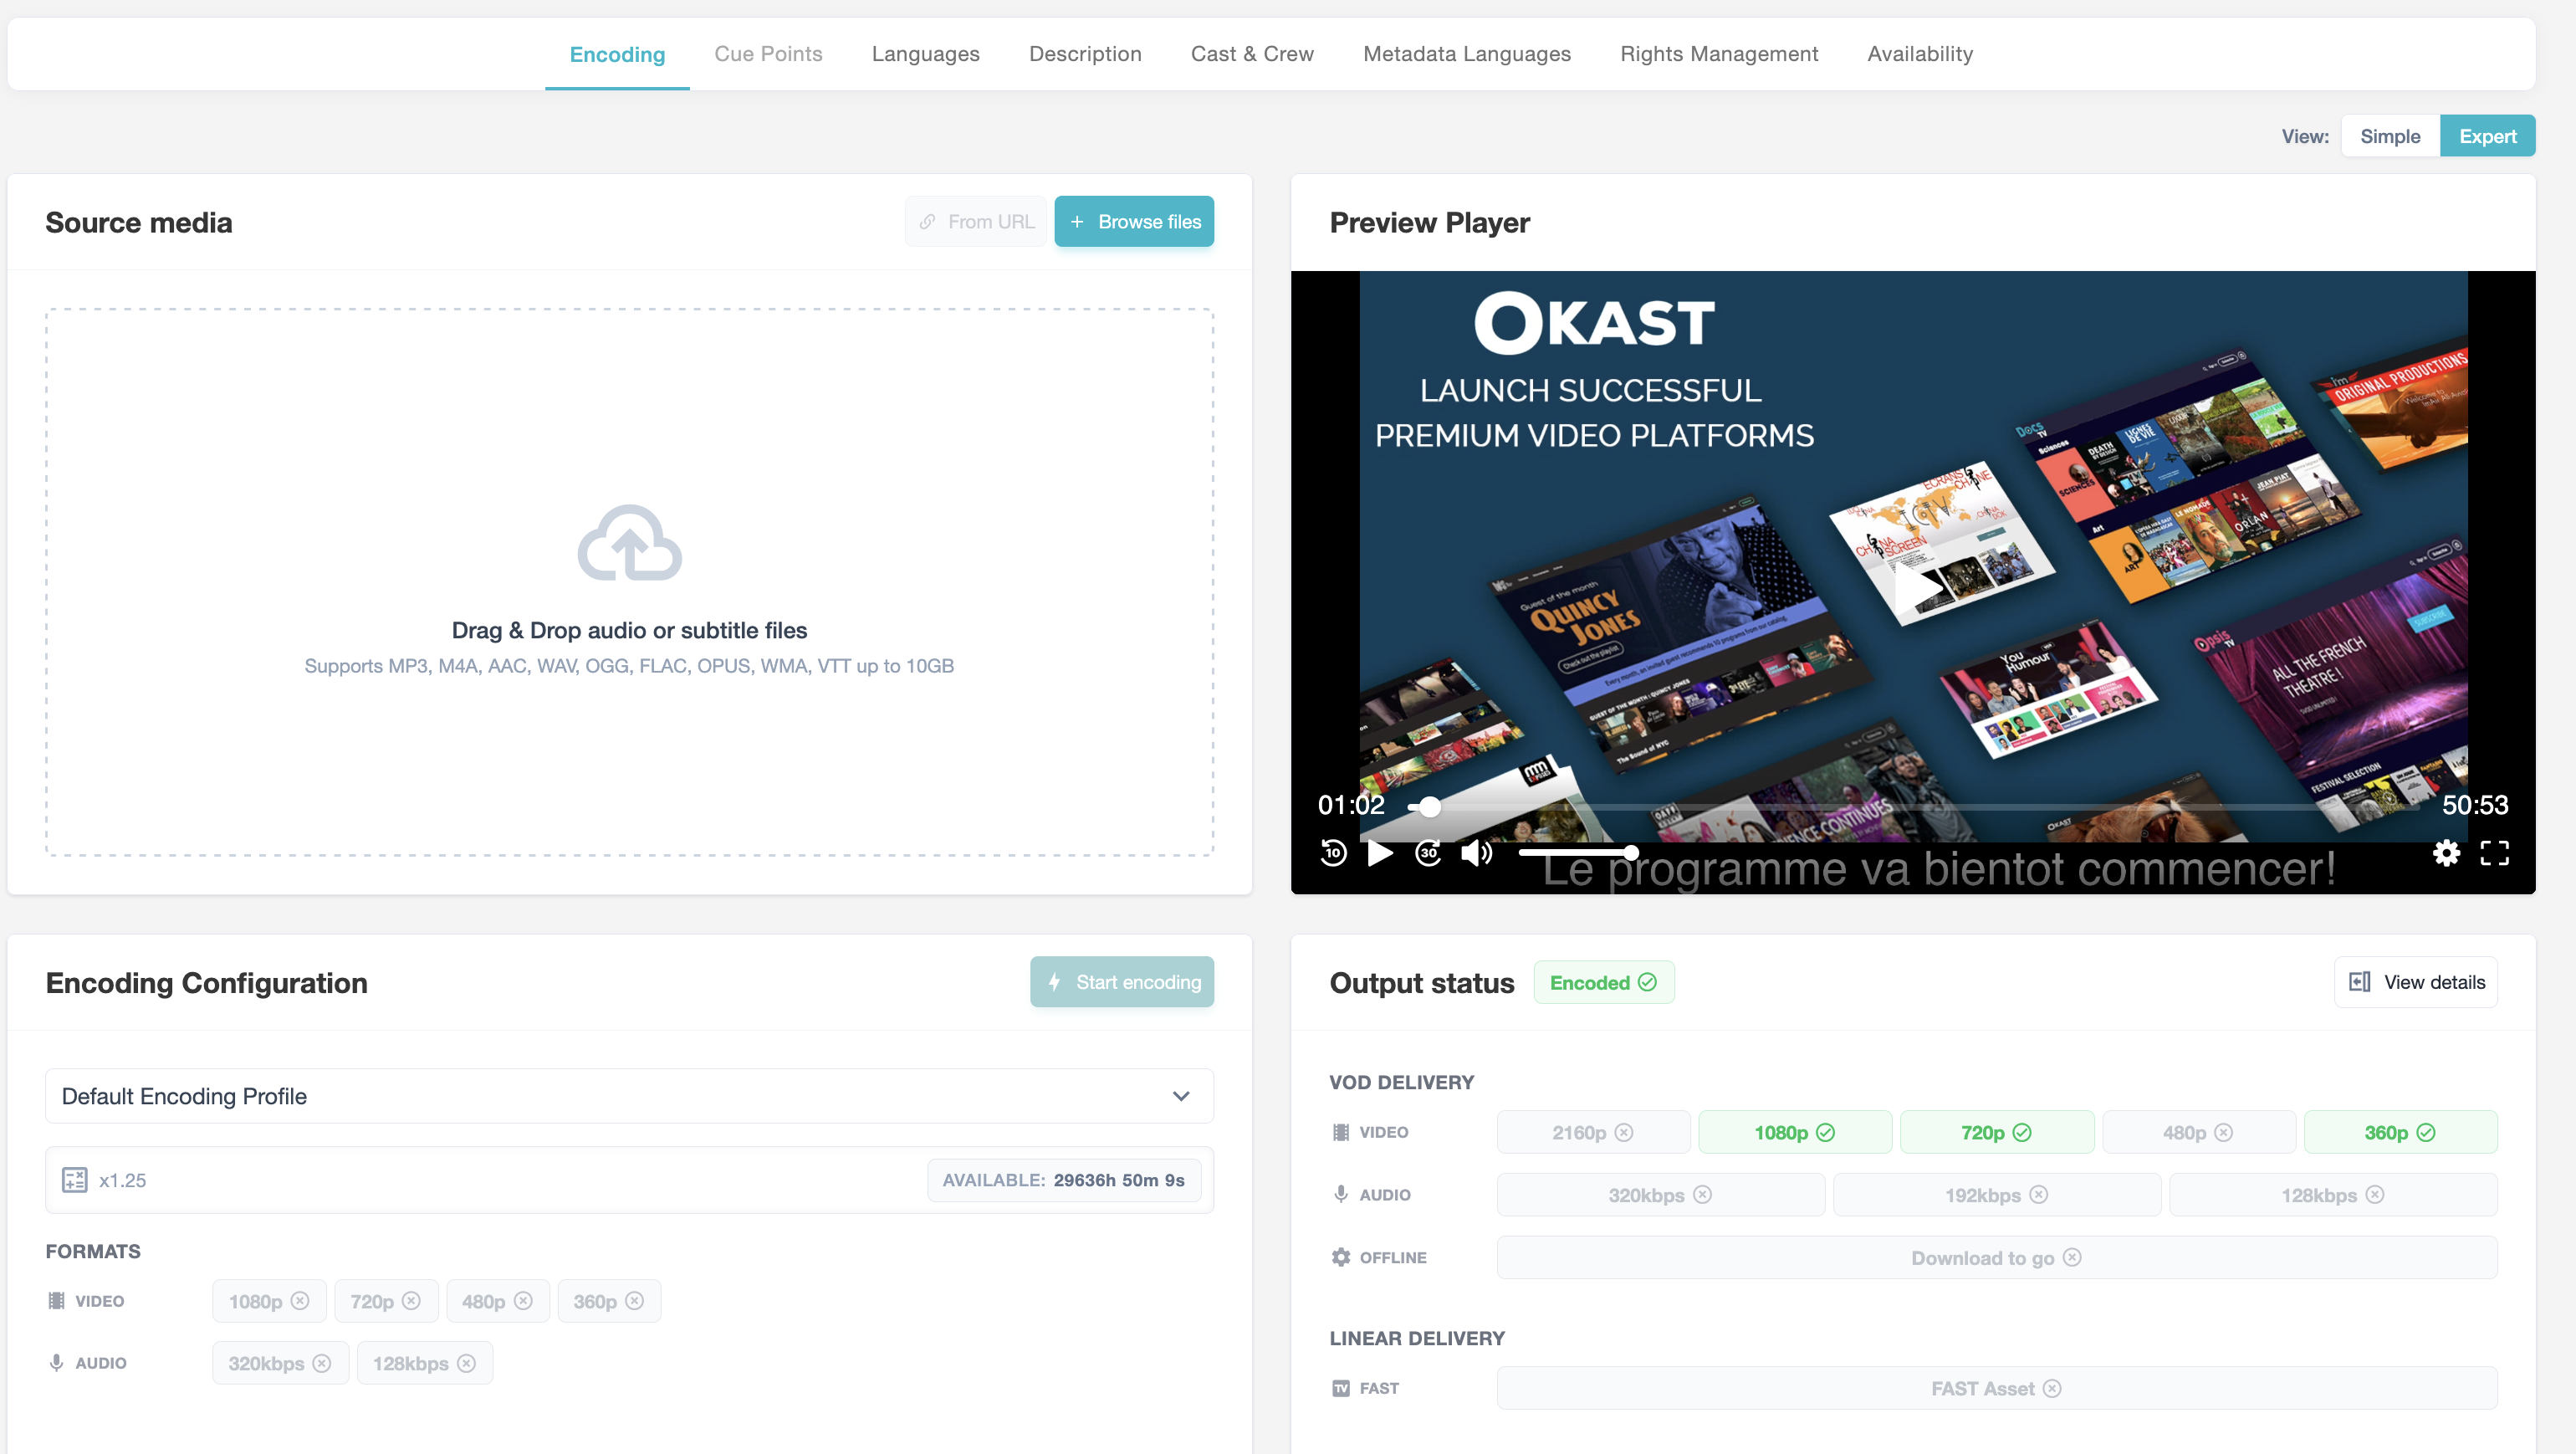
TABLE OF CONTENT
This page displays the expert mode for encoding a file. This mode offers more options than Simple mode, but it helps you understand the ins and outs of encoding and identify any issues that may arise. Once you've adjusted your settings, you'll likely want to switch back to Simple mode for better readability.
You can switch modes using the > View: Simple / Expert button at the top right of the page >
1. Upload of hosted content: Source media
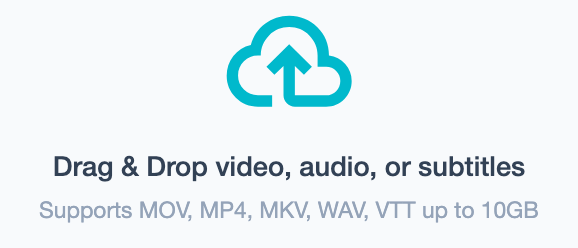
When creating content from the Media menu, you will be prompted to “Drag and drop your video, audio, or subtitle file” into the Encoding tab of the left-hand window, Source media.
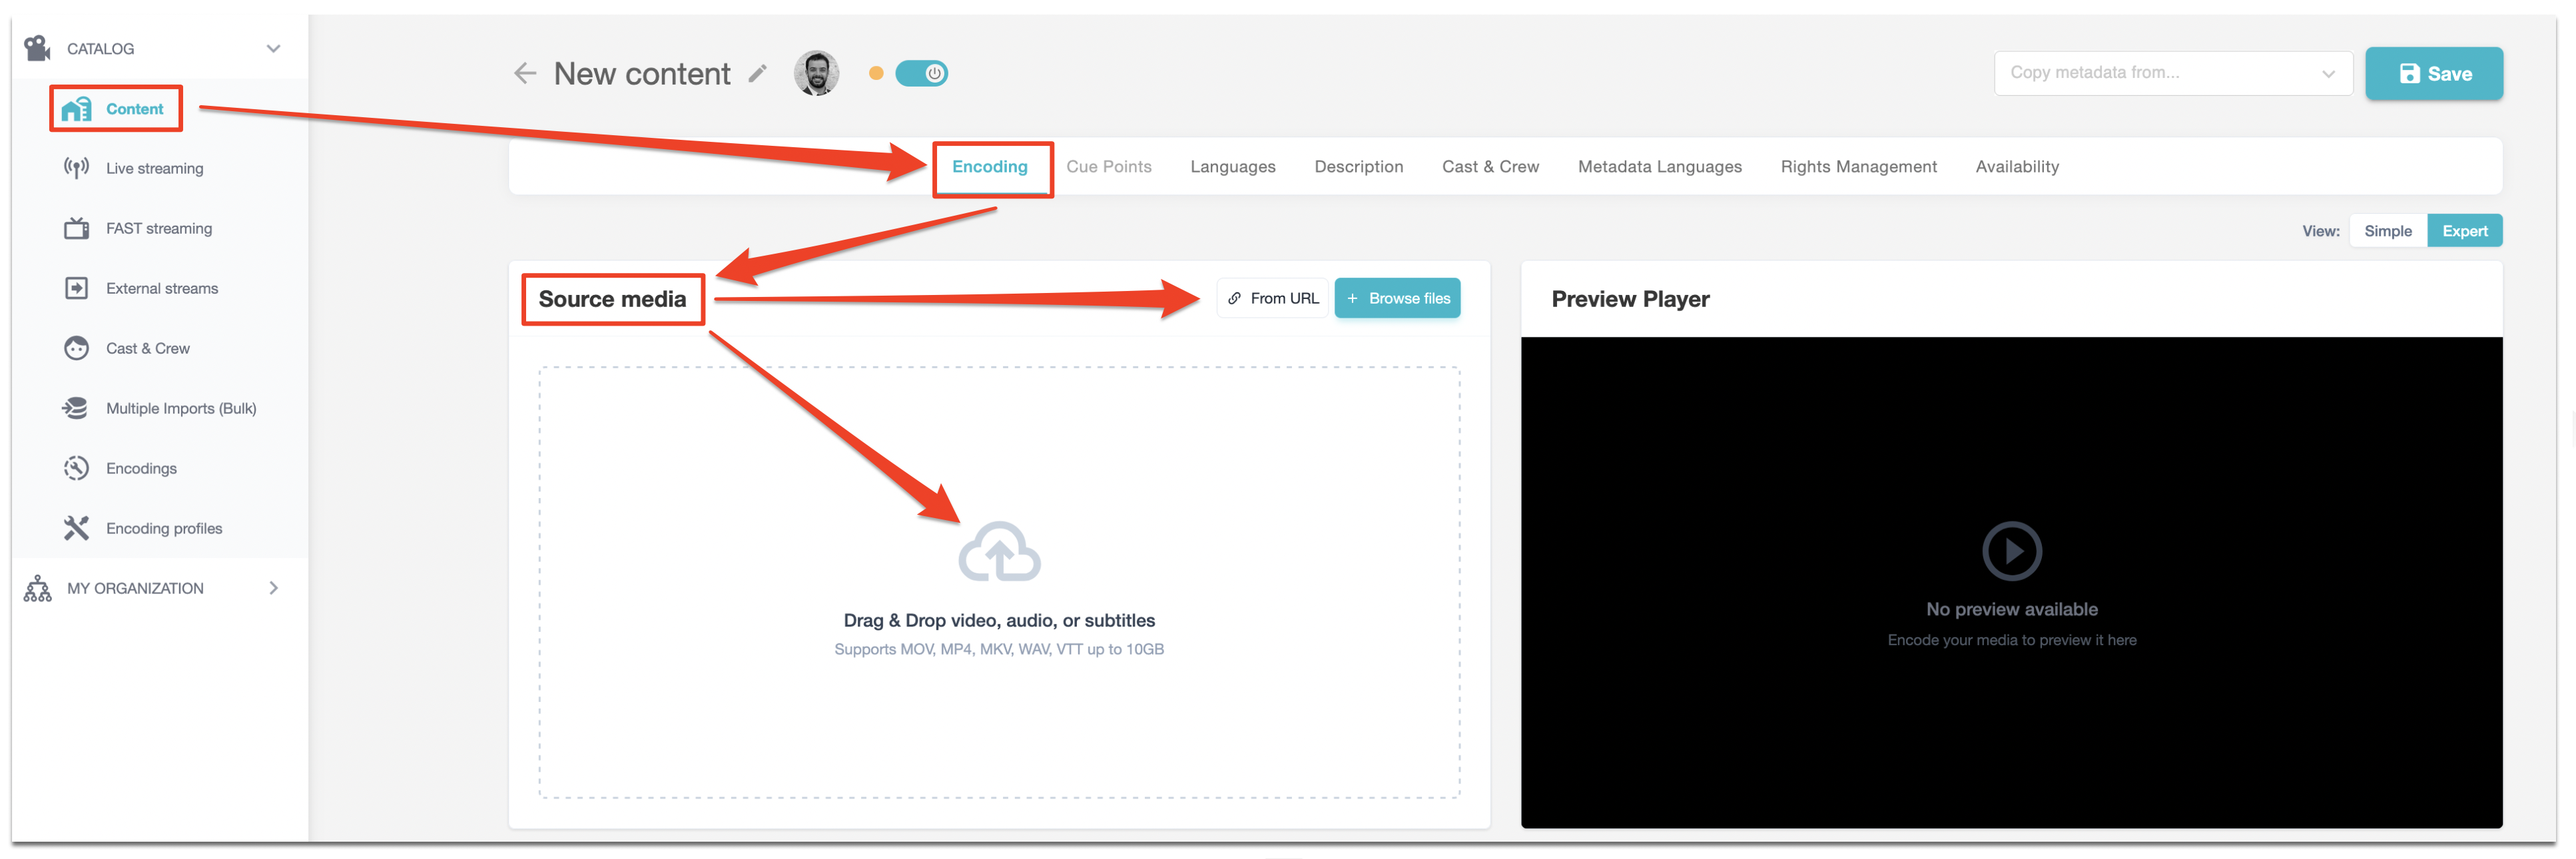
You have two options for uploading a file.
1) Either upload it locally from your computer or a hard drive. Supported file formats are: MOV, MP4, MKV, WAV, and VTT. The maximum file size is 10 GB.
Click on or
or 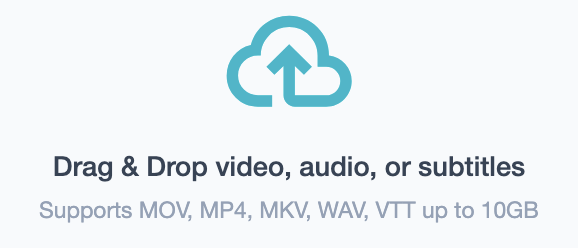
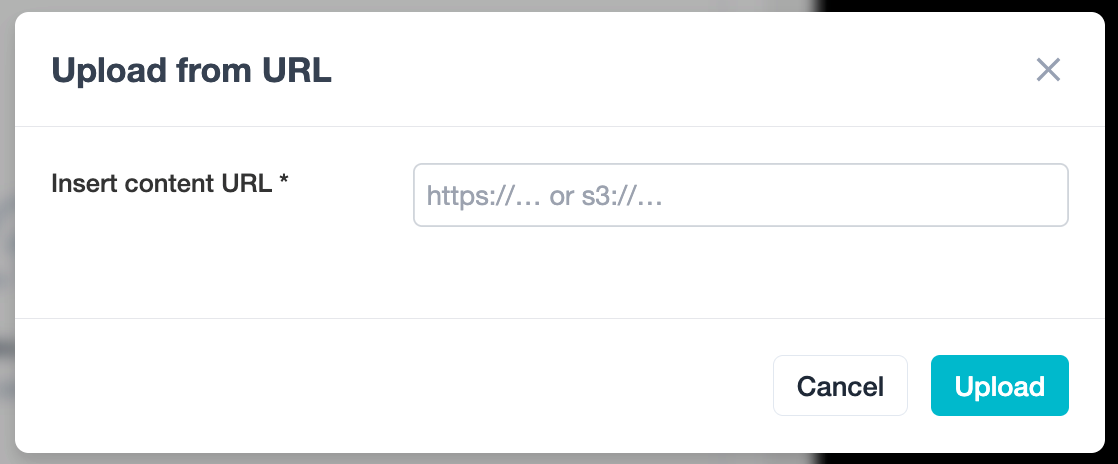
2) Or from an online server (such as a file on Amazon S3); simply paste the URL where the content is hosted. In this case, the file size may be up to 30 GB.
Please note: Links to Dropbox or Google Drive, for example, are not accepted.
Please note that the portrait orientation is applied automatically. The web or mobile app will automatically adjust the page layout.
Once downloaded, your files will appear in the Source File area.
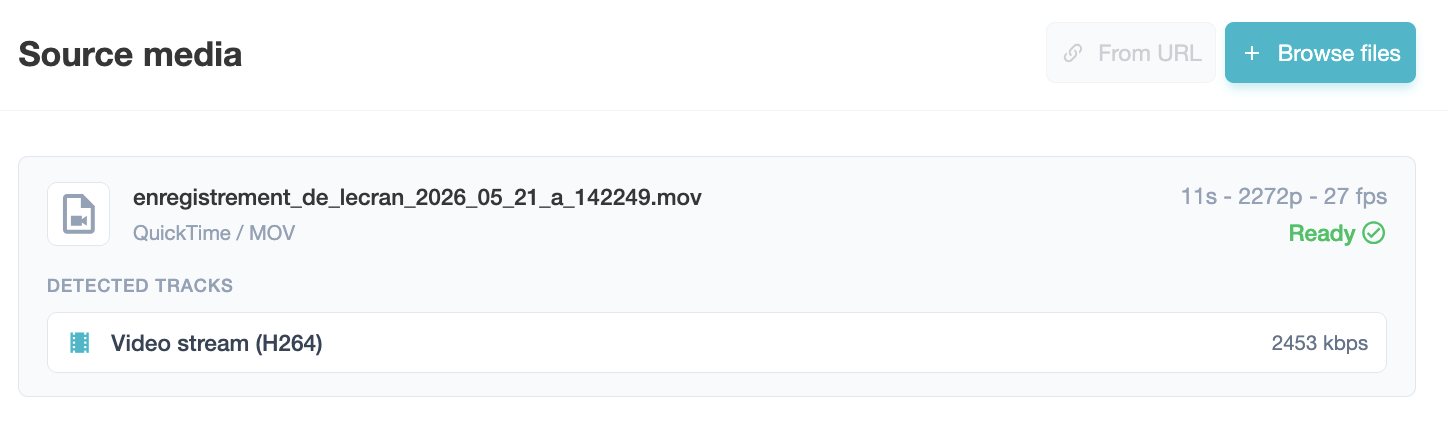
This screen displays several important pieces of information:
- The title
- The duration
- The resolution in pixels
- The frames per second (FPS)
- The source and format
- Whether the file is accepted by OKAST and therefore ‘Ready’
- The types of tracks detected (video tracks, subtitle tracks, audio tracks)
2. Encoding Your Content: Encoding Settings
Once your file has been uploaded, you need to encode it by clicking the button: Start Encoding >
Don’t worry—once encoding is complete, you can still add new tracks or remove them.
This screen is called Encoding in Simple mode and Encoding Settings in Expert mode.
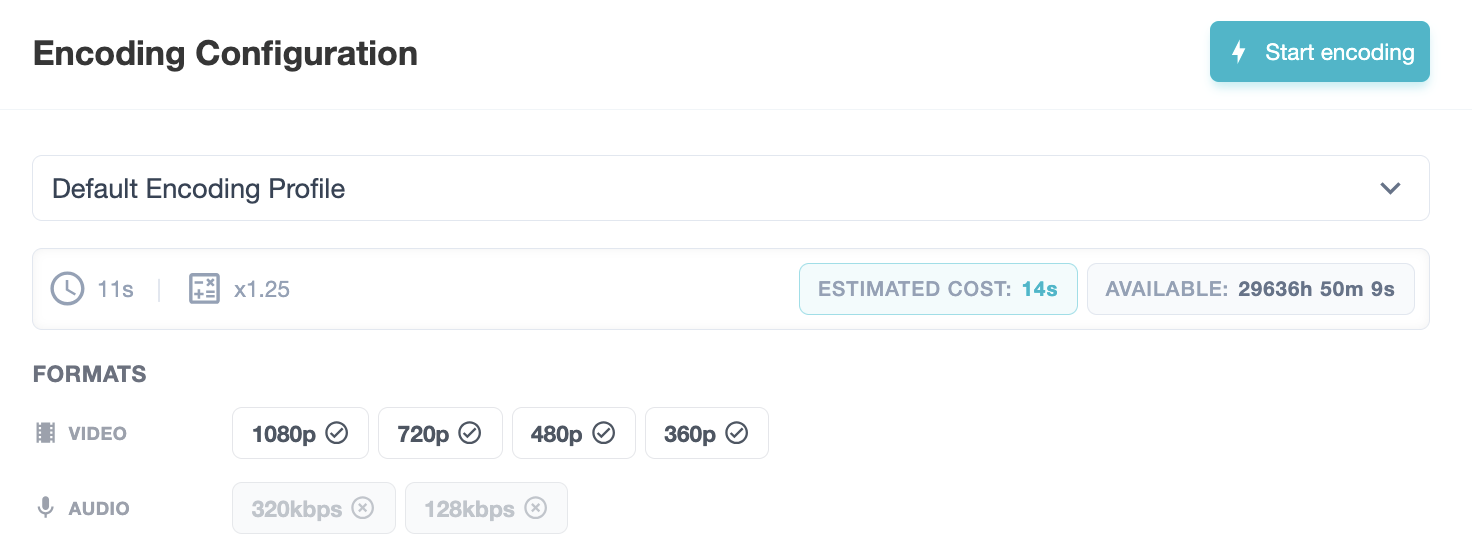
This screen allows you to choose your encoding profile. Here is an example with two encoding profiles.
By default, you have an encoding profile (The Default Encoding Profile) that includes four video tracks and two audio tracks, but you can customize it to your needs by adding encoding profiles in the menu > CATALOG > Encoding Profiles, then selecting them here.
For more information on creating encoding profiles and their impact on your bill, visit the help page > Encoding Profile.
Selecting an encoding profile will display its associated formats depending on the view mode (Simple or Expert), as well as a summary of the following:
- The duration of your video (4s here)
- The encoding cost multiplier (x1.5 for the Default Encoding Profile). More info on the Help page > Encoding Profile.
- The estimated encoding time in seconds on your plan (5s for 4s of video here)
- The remaining encoding time on your plan. For more information, see the bottom of the article.
When you click the Start Encoding >  Video encoding begins. Depending on OKAST server traffic and the number of videos being encoded at the same time, your video will be placed in a queue, meaning it will be processed after the others. Don't worry—there's no need to restart the encoding process.
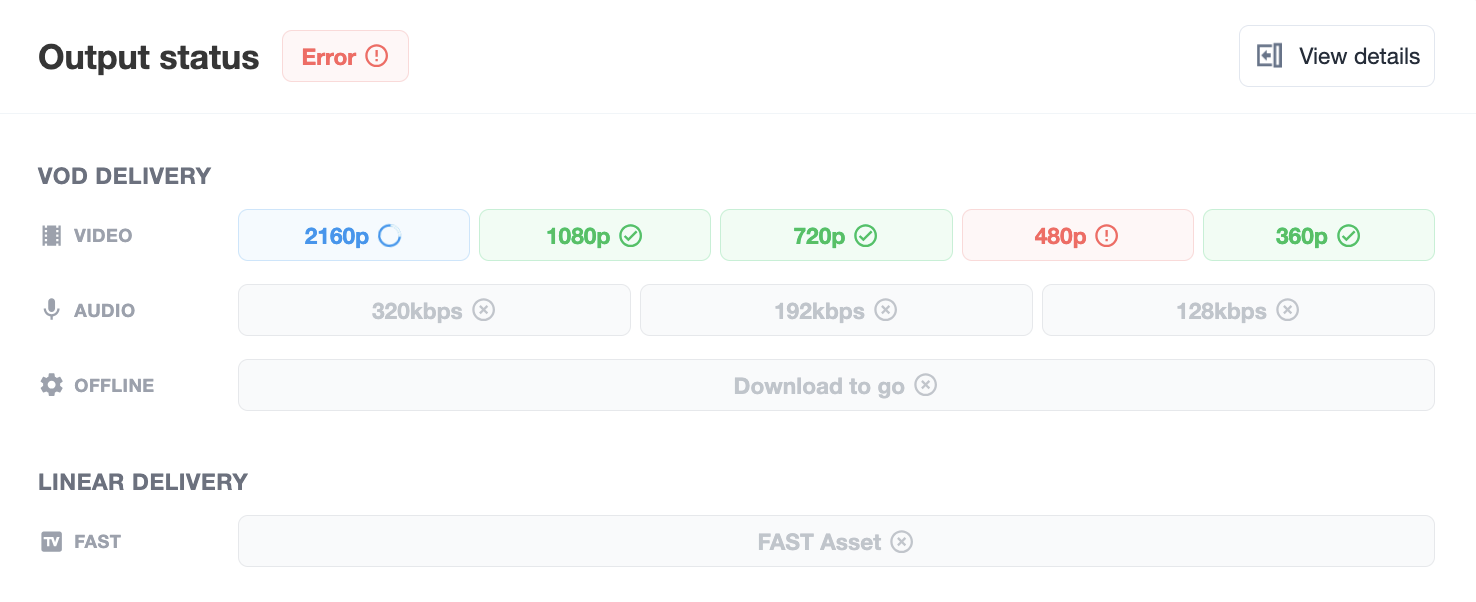
The encoding states for a track are as follows:
 = stream on the encoding waiting list
 35% = stream in the process of encoding
 = encoding full
 = encoding not started / problem while trying to encode (hover over
 for more information about the error)
You will then see several progress indicators appear:
- - On the Encoding and Output Status pages, you can see the encoding progress displayed in orange
You will also find a “Key” icon at the top of the page , which informs you of the encoding of current content.

3. Previewing Your Encoding.
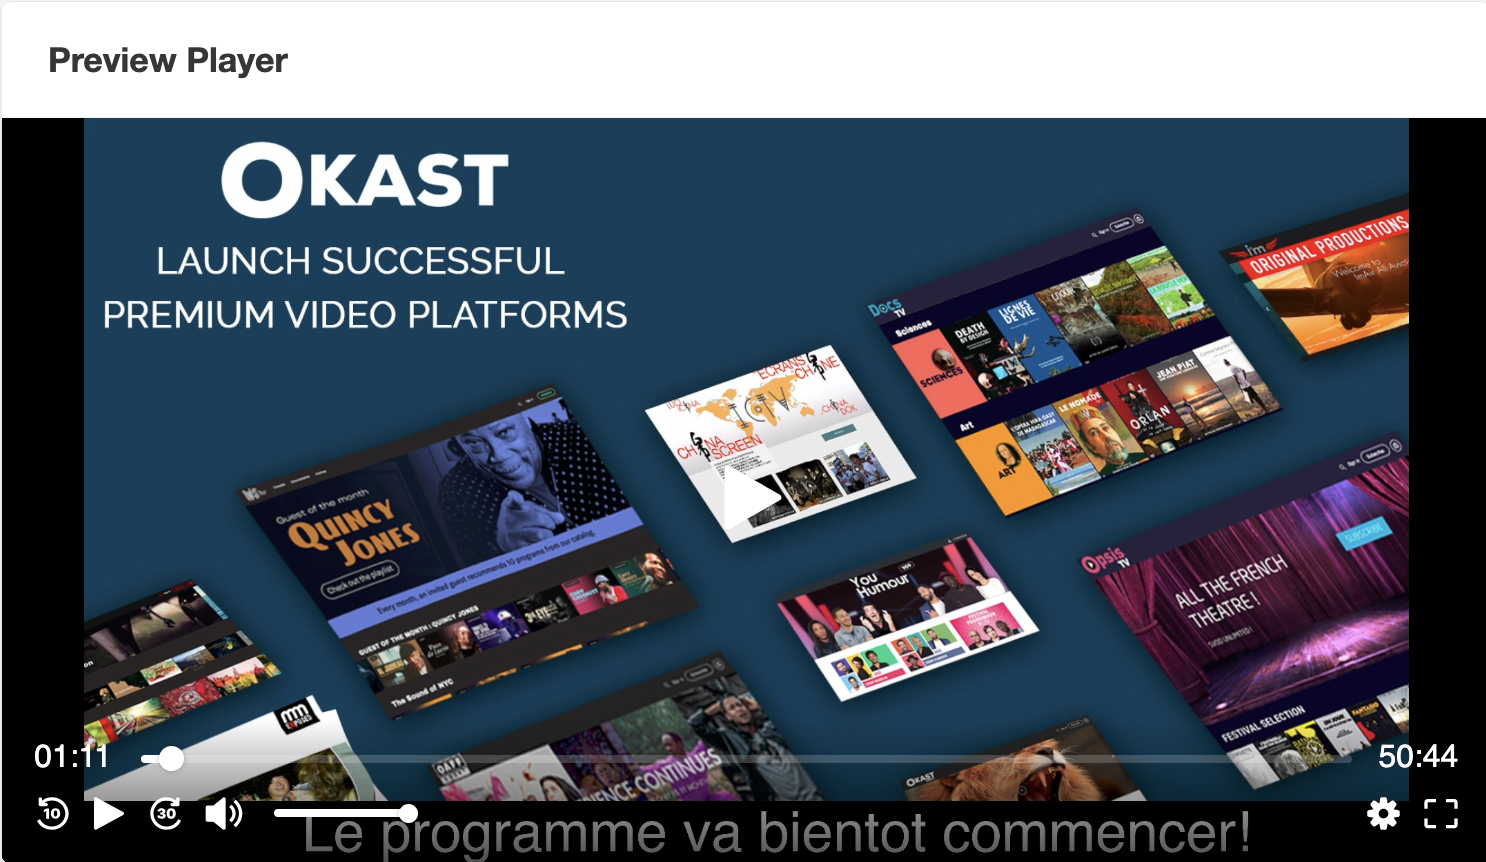
Once encoding is complete, you can view your content using the various player options in the right-hand window: Preview Player.
4. Encoding Complete
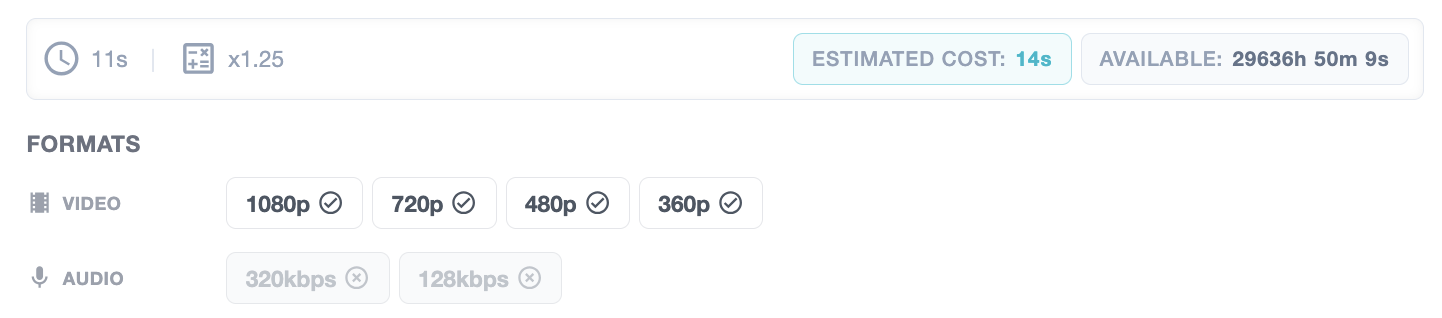
In the bottom window—Encoding or Encoding Configuration (depending on the selected mode)—several indicators show you the status of the encoding, and if certain tracks failed, they are marked as errors.
Example with Simple mode here
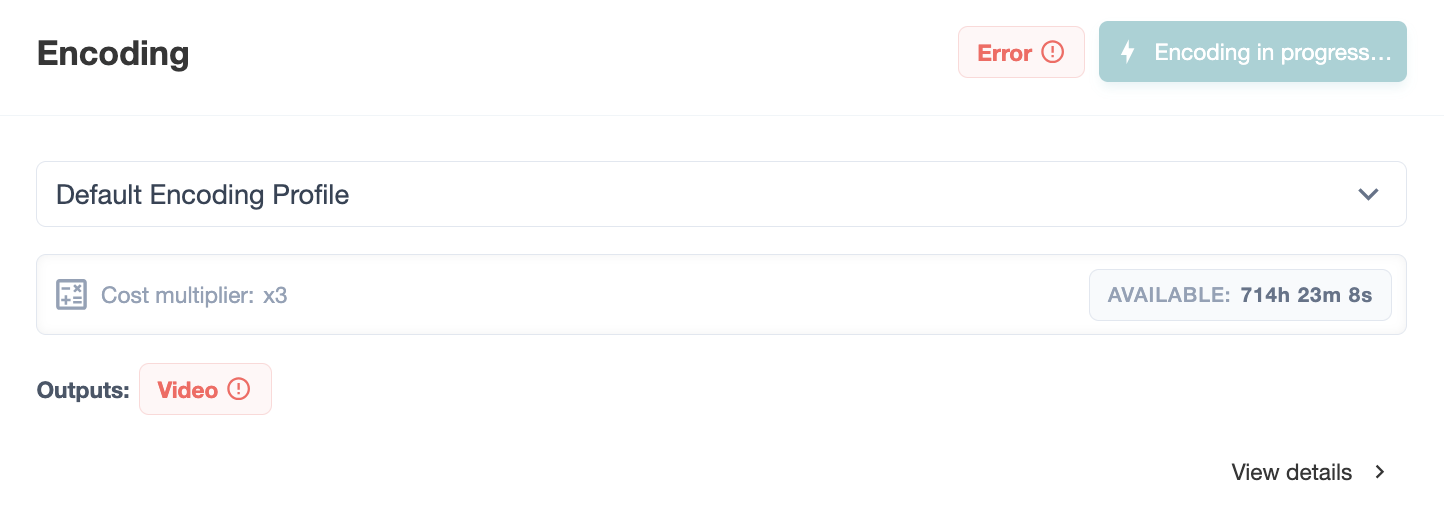
Example with Expert mode here
You can view the details of the errors, as well as rename your tracks using the Encoding Operation menu available via the > View Details > 
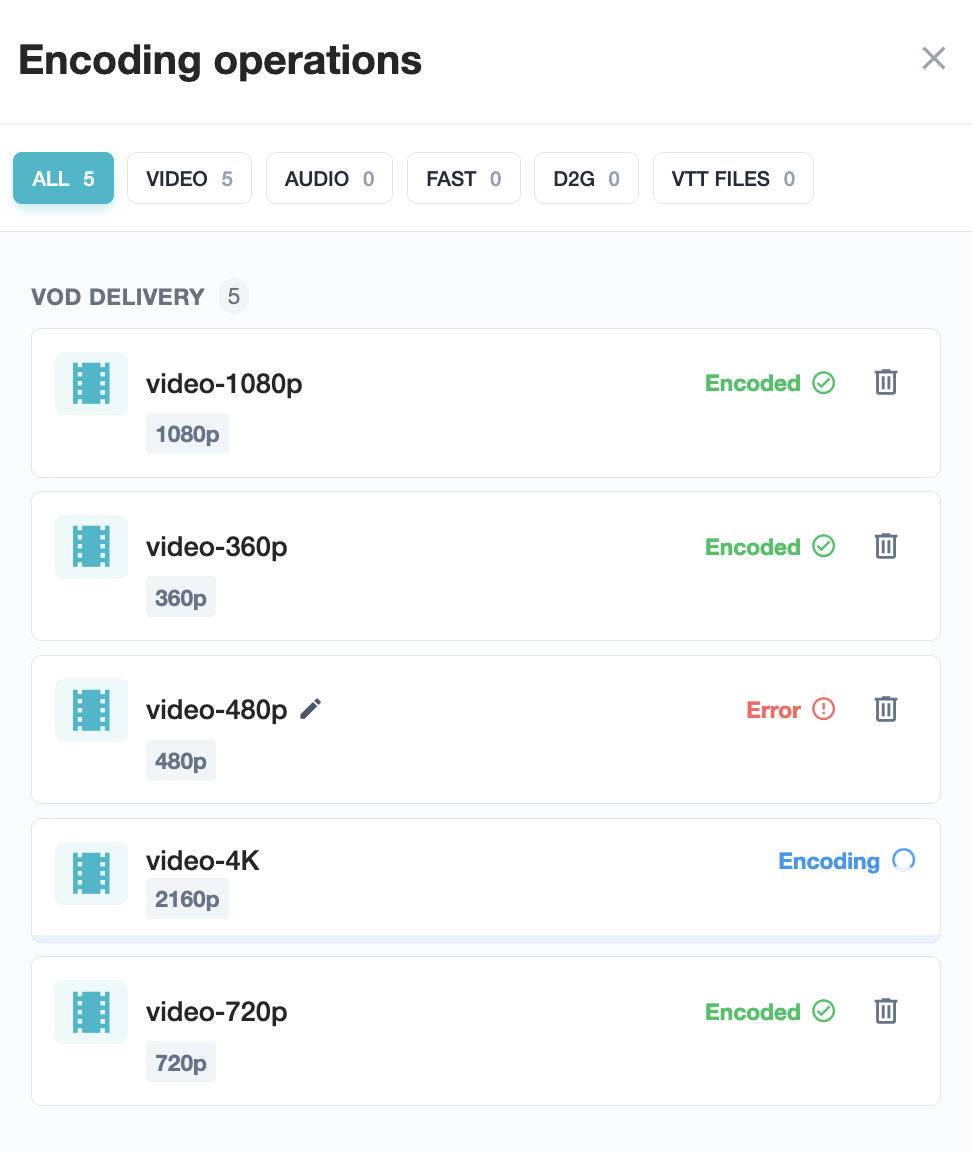
This is where you can or must delete your tracks in order to encode new content in the source file window.
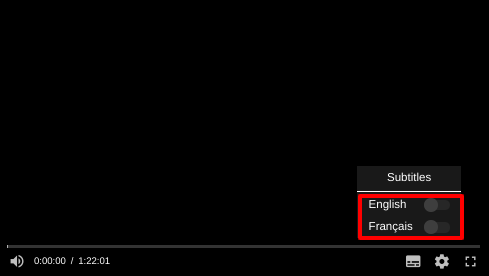
By hovering over the title, you can edit the field. In the case of VTT subtitle files or multilingual audio tracks, this is also the name that will appear to your users when they choose a language (so you must rename the track with the corresponding language):
Subtitles and Chapters
You can also add chapters and subtitles in vtt format from the left-hand window by clicking on Add files > Subtitles (.vtt) or Chapters (.vtt)
Tips: Want to convert your subtitles? Use => https://www.happyscribe.com/tools/subtitle-converter
Subtitles
The language of the subtitles will be chosen by your users from the Subtitle menu in the bottom right-hand corner of the player window. They will be able to select one of the languages you have made available. 
Chapters
You can select a chapter directly, with a preview thumbnail in the player.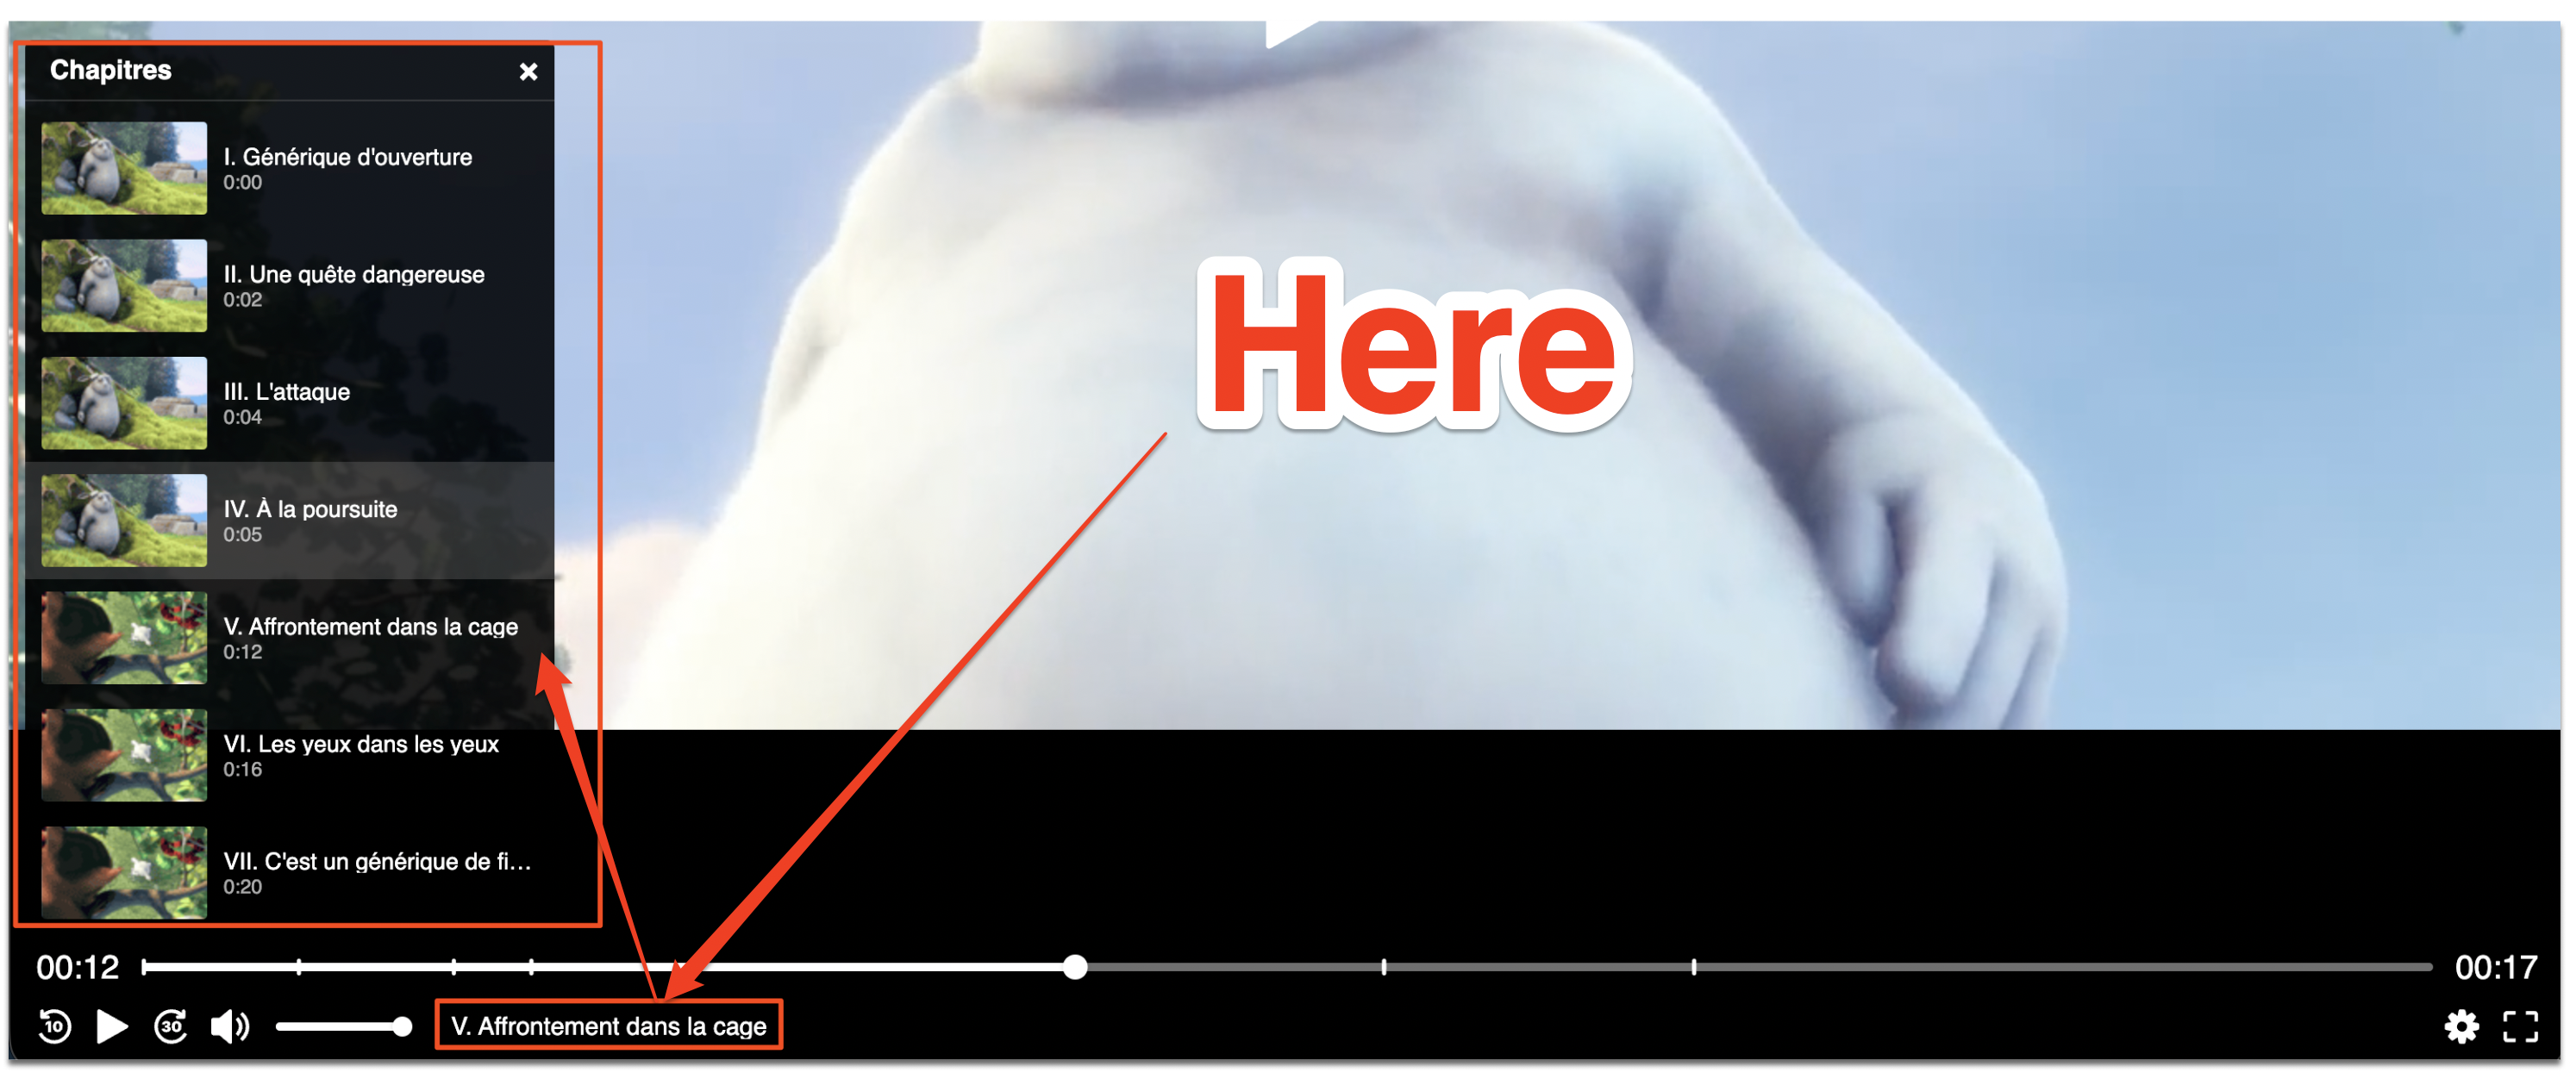
The language of the chapters is set automatically by your users' browser from the vtt. files you have downloaded. By default, English or French will be displayed.

An example of the chapter and subtitle format is attached. 
Focus on the remaining encoding time
Your OKAST package is linked to a number of hours of content that you can upload. This quota of hours is called the encoding package.
Each time you encode a video or audio track, they use part of this quota whether or not you use the content. Subtitle tracks and thumbnails do not use up this quota. You can find this package and the percentage already used on your home page or at the top of the Media encoding menu.
From your home page :
- You have used up 193 hours and 39 minutes of encoding time.
- Your package allows you to upload 106 hours and 21 minutes of content

In this example, from the CATALOG > Media Encoding menu header :
- Your Media Encoding catalogue contains 171 items of content.
- You have used 222 hours and 39 minutes of encoding out of 300 hours.
- Your quota is 74.2%.
However, the encoded streams will not use the same credit!
Depending on their type and quality, they may impact differently your uploading credit. OKAST provides a system of ratios, specific to each stream you choose to encode:
- Subtitles= 0 hours of credit used
- Thumbnails = 0
- Audio 160 = 0,125
- Audio 320 = 0,125
- Video 360p = 0,125
- Video 480p = 0,125
- Video 576p = 0,125
- Video 720p = 0,25
- Video 1080p = 0,5
- Video 4096p = 1
- Video in live streaming 3 resolutions (RTMP) = 2
To avoid unpleasant surprises, we will inform you by e-mail when you reach the 10%, then 5% and finally 0% of encoding time remaining.
To add encoding time, you need to send us an email with the volume you want.
⚠ Warning: once you have reached your quota, you will not be able to encode new content. You will need to upgrade to a higher rate. Also, deleting already encoded content will not reduce your encoding package (because the encoding credit will have already been used)